Onboarding Templates
How to create, delete and duplicate Onboarding templates.
OVERVIEW
This article is part of the Fundamentals of Onboarding resource and will provide you with the basics of the Onboarding process at Namely.
Before kicking off any onboarding sessions for new employees, you must create onboarding templates to assign to them. These templates are highly customizable and can be built for any onboarding scenario you want. For example, you could build a template for full-time employees at a specific office location, or for interns in a specific department. There is no limit to the number of templates you can create.
Refer to this video:Onboarding Templates
TIP:
You must have the onboarding feature turned on to access onboarding templates. Submit a case to turn on onboarding.
CREATING ONBOARDING TEMPLATES
To access onboarding templates:
-
Click Onboarding on the Namely homepage.
-
Click View or Create Templates.
-
To create an onboarding template, click Create Template.
Every onboarding template consists of six parts:
-
The template name and description
-
The form for the onboarder
-
The form for the new employee
-
Company documents
-
eSignature documents
-
The welcome message for the new employee
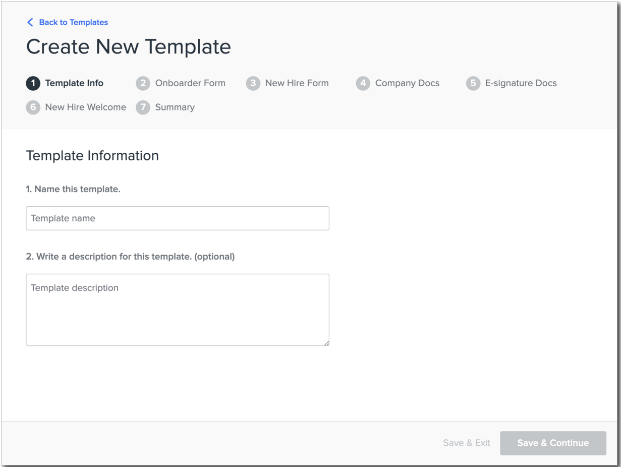
Template name and description
-
Enter a Template Name.
-
Enter a description for the template (optional.)
-
The template description is not required and will only be visible to administrators who have access to onboarding.
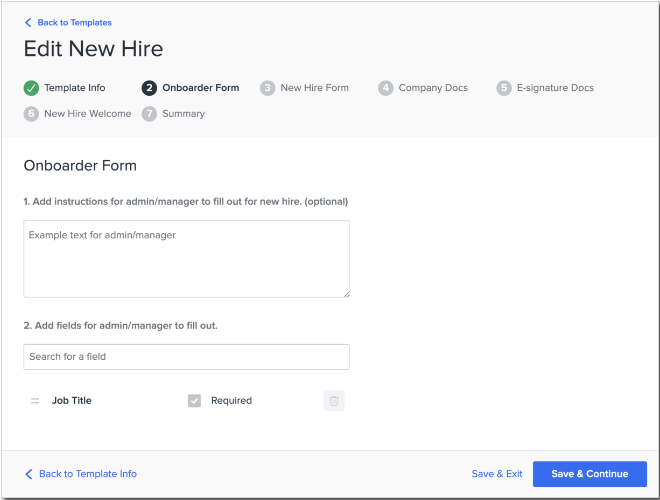
Form For Onboarder
-
Enter any instructions you want to display for the onboarder. (optional)
-
Using the dropdown menu, select any fields* you want the onboarder to complete, like pay group or salary, and click Add. Select the Required checkbox to make a field required.
-
In addition to first name, last name, start date, access role, personal email, and company email, all templates automatically add a required field: job title.
-
Multi-EIN organizations require the subsidiary field on all onboarder forms.
-
You can add any custom profile fields you’ve created except number field types. For more information on creating custom fields, visit our Configuring Employee Data Settings: Profile Fields guide.
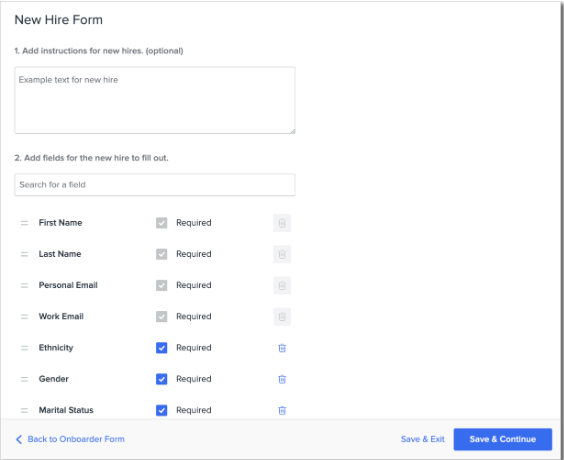
Form For New Employees
-
Enter any instructions you want to display for the new employee.
-
Using the dropdown menu, select any fields* you want the employee to complete and click Add. Select the Required checkbox to make a field required.
-
All templates require first name, last name, personal email, and company email. All templates also automatically add ethnicity, gender, marital status, home, dob, and SSN, although you can make them not required.
-
If you add banking information, pay group must be required on the onboarder form. Additionally, if any employees will not be direct deposit, make the banking information field not required.
-
*Note: You can add any custom profile fields you’ve created except number field types. For more information on creating custom fields, visit our Configuring Employee Data Settings: Profile Fields guide.
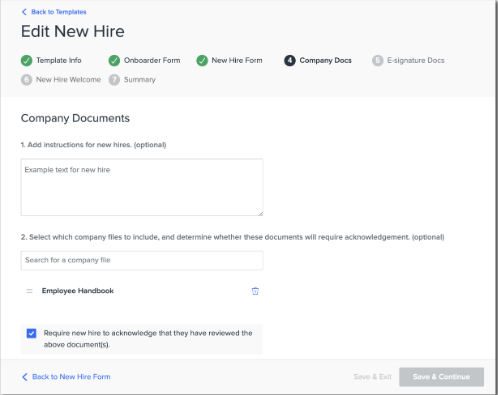
Company Documents
-
Enter any instructions you want to display for the new employee regarding company documents (optional.)
-
Using the dropdown menu, select any documents you want to provide to the new employee, like your employee handbook, and click Add.
-
If you want to require new employee to acknowledge they have reviewed all the documents, select the checkbox and enter an Acknowledgement Statement.
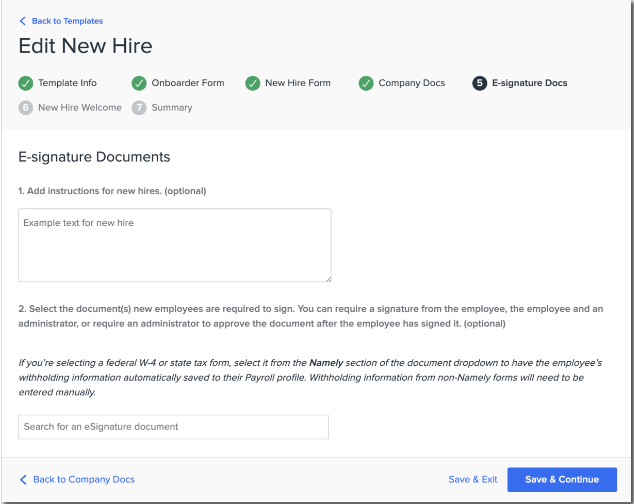
eSignature Documents
-
Enter any instructions you want to display for the new employee regarding eSignature documents (optional.)
-
Using the dropdown menu, select any eSignature documents you want the new employee to sign and click Select.
-
Select who you want to sign or approve the eSignature document. You can select:
-
Signature from the employee only
-
Signatures from the employee and an administrator
-
Signature from the employee and approval from an administrator
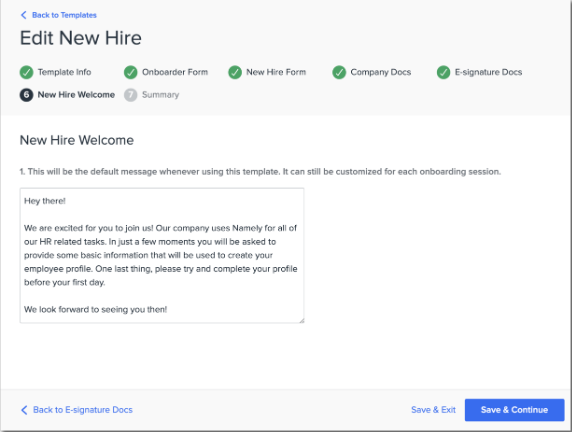
Welcome message for new employee
After an onboarding session is kicked off, new hires receive an email inviting them to log in and complete the onboarding session. We’ve pre-written a welcome message for you, but you can change it if you have custom messaging for specific templates.
TIP:
Any custom message you save to a template becomes the default welcome message for new hires receiving that onboarding form. Onboarders can edit the welcome message further after selecting the template when kicking off an onboarding session.
To save an onboarding template as a draft, click Save Progress.
To publish it and use it as a template, click Publish.
TIP:
Published onboarding templates cannot be edited - however, you can duplicate an onboarding template and make any desired changes to the new template.
TIPS
-
You can reorder any fields or documents in your template by clicking and dragging.
-
To delete a field or document, click the X that appears when you hover your cursor over it.
EDITING AN ONBOARDING TEMPLATE
If you need to make edits to an onboarding template you have published, you can simply select the published template and click Edit on any section you would like to make changes to.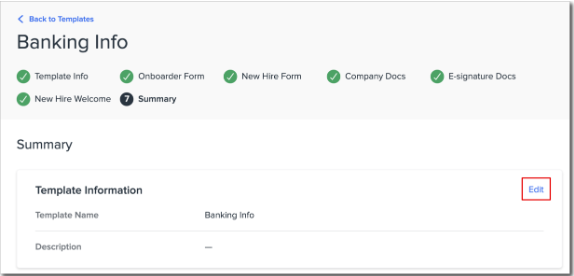
Edits will only appear in new onboarding sessions. Any sessions that have already been kicked off and are in progress will not reflect edits.
DELETING AN ONBOARDING TEMPLATE
To delete an onboarding template:
-
Click the X button.

-
You will receive a pop up confirming that you would like to delete the template.
-
Select Okay.
TIP:
Deleted templates can’t be recovered.
NAMELY RECOMMENDED
Download and follow this PDF as you're building you Onboarding Template to get the most out of your employee Onboarding experience and ensure a seamless data transfer to Namely Payroll:
Refer to this document for more information: Best Practice: Onboarding Template
Next in the Fundaments of Onboarding series: Completing an Onboarding Session.